Friday, October 31, 2014

Sunday, October 26, 2014

Hauntingly easy chalkboard paint.

Two new friends joined us this season.  
And they materialized from water and cornstarch...thats it!  
About two parts corn starch to one part water. 


We mixed the water and corn starch well and used a sponge brush to paint. 
When we first started painting we thought it wasn't working!  It looked like water...  


...but when it dried all was reviled.  Truly ghost paint.  


These were quickly done. We thought about re-painting them to make them cleaner, but the sloppy texture actually really works. 


Best part is they clean off with just water...not that we're thinking of getting rid of them anytime soon!


Wednesday, October 15, 2014

Bouncing Spooks!

We made these classic whimsical bouncing spooks for our nephew in LA!
He's going to get a kick out of scaring his Mom with his dangling friends!


Threading a thin piece of elastic through a styrofoam ball we created our mischievous toys!


Some googly eyes and dowels covered in decorative paper straws and we're good to go!


Who ever thought a ghost and spider could be so cute!
I do believe Spooks!


Friday, October 10, 2014

Ghostly Greetings!

These ghostly pot heads are a new additon to our bathroom this year.


They're "hanging out" with yarn and tied beads to hold their place.


The pots are painted with white acrylic paint and the arms and faces are made with cardstock.


Be the ghostess with the mostess!


Boo to you from our crew.


Monday, October 6, 2014

Owls in the night...oh what a fright.

These black and orange paper owls are hiding in their trees silently watching you. Mwhahahahahaha...oops...whooooo whooooo! 


They are made with two pieces of cardstock paper wrapped and glued around cylindrical vases.  


In the front, a black piece (with a cut out oval) wraps over the orange piece (with the owl) in the back.  Trim the orange piece around the hole before gluing. 


The front black piece isn't big enough to wrap around the whole vase so the back is orange...you can cover it with another piece of black paper...but it's the back. 


A rubber band will help hold everything together around the vase while it dries.


Add a couple of cut out branches to the tree trunks.
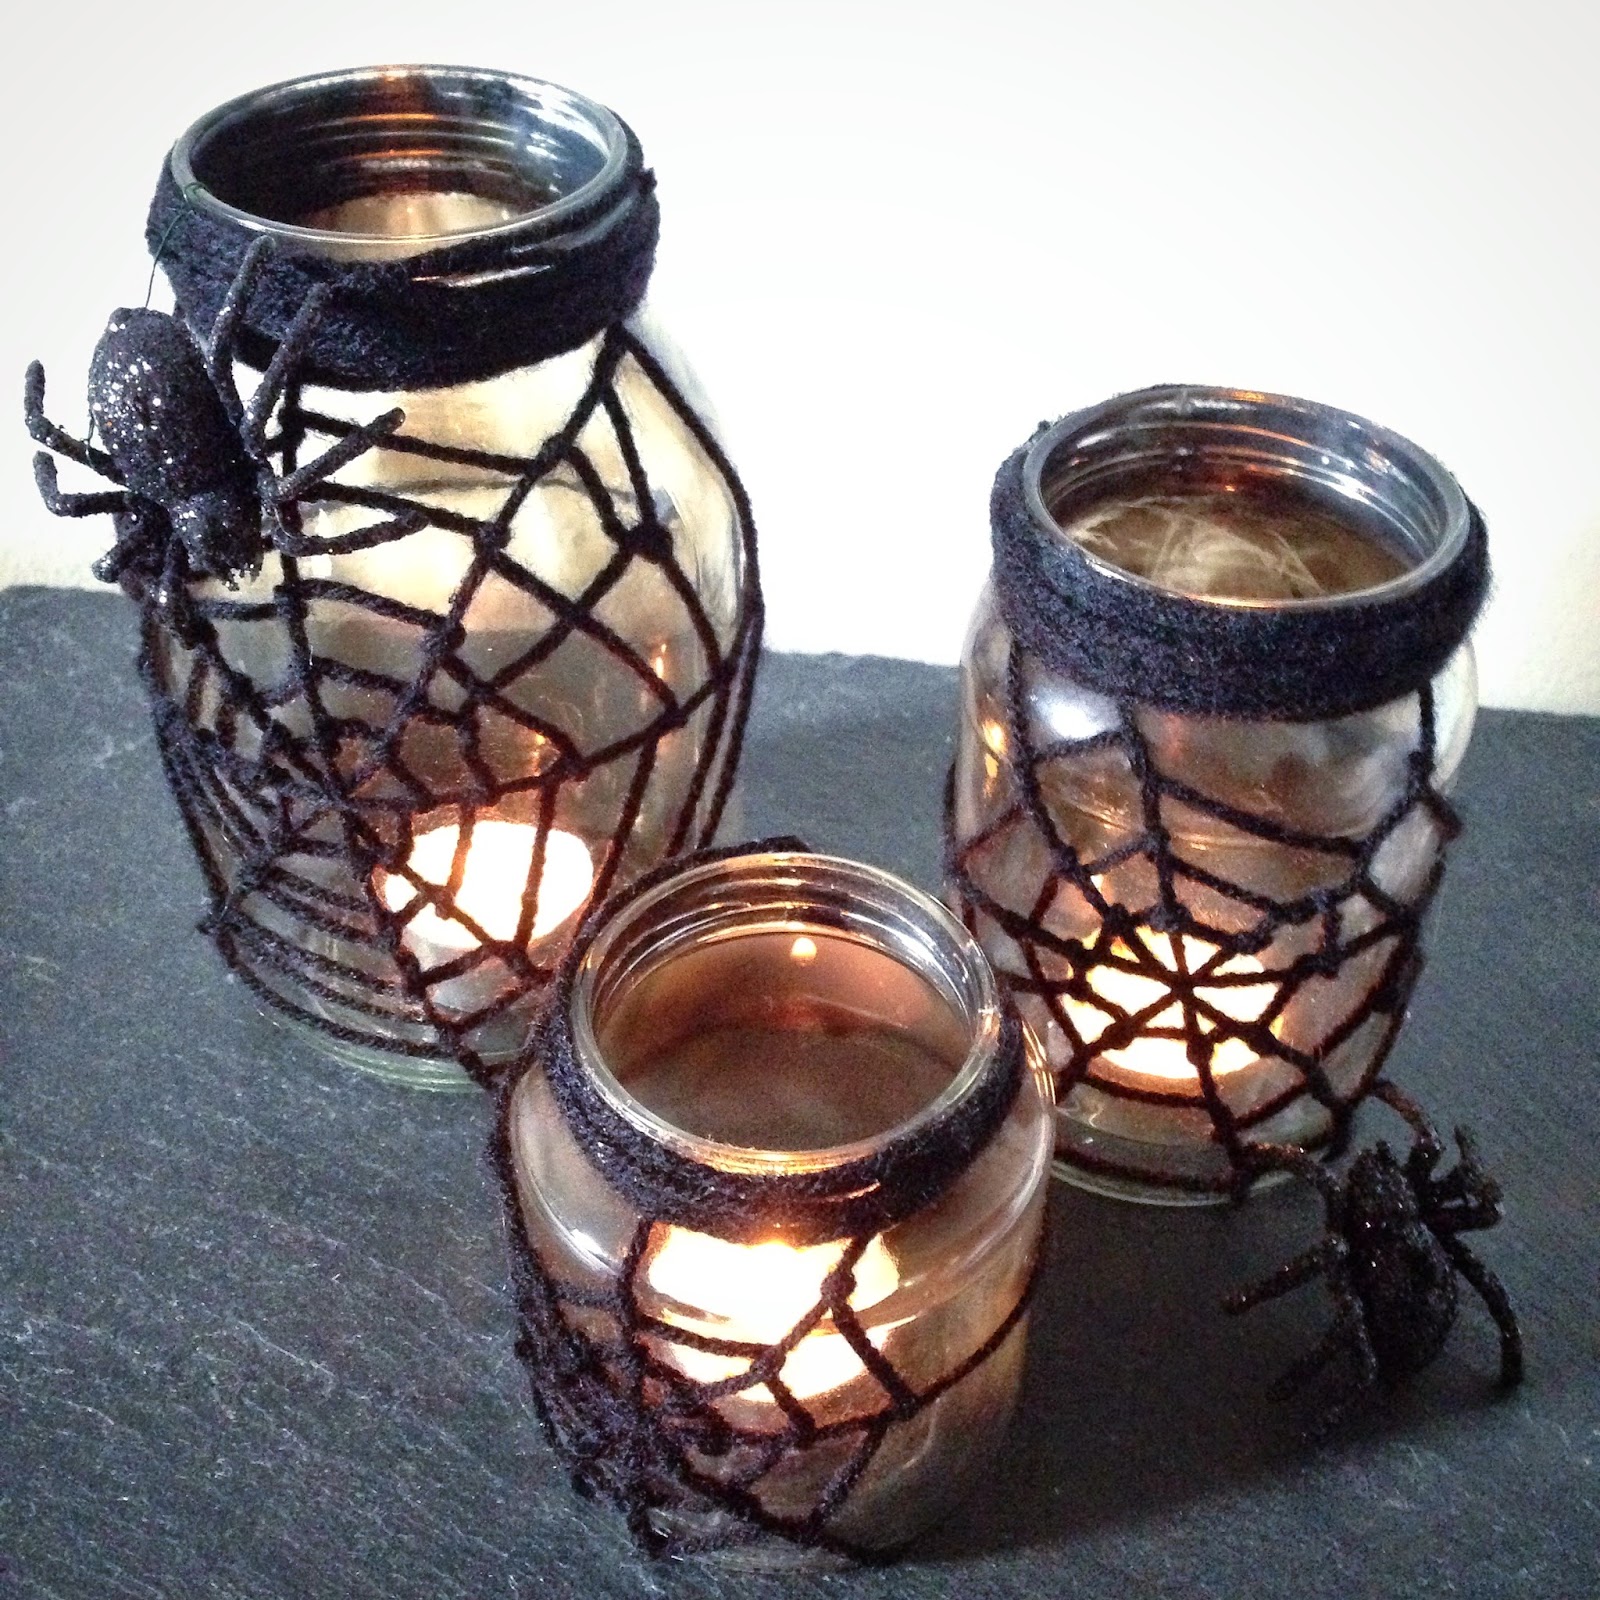
Throw in a couple of tea lights and watch them glow.


Whachu lookin' at??


Thursday, October 2, 2014

You're the TOP!


All our Halloween stuff is up and ready! Dennis leaves for the Anything Goes tour today, he'll be back in December, but it's an 8 month contract.  We're missing each other already!  These past few weeks we've become a bit nostalgic and decided to take a stroll down memory lane and share our top 5 spooky posts. 


Yarn spider webs-an inexpensive way to give the room a huge eerie impact!


Simple Halloween jars-made from tissue paper, painted on with glue and water.


Terror-iums-spooky, scenic and cheap!


Zombie garland-shaggy, dramatic and decrepit.


Spooky stares-peek a boo, we see you!

We hope our favorite past ideas help you have a killer Halloween!
Happy haunting! 


Wednesday, October 1, 2014

Itsy Bitsy's at it again!

All spider webs begin with a single thread and so do our yarn spider web jars!


We loved our giant yarn spider webs from last year and wanted more! 
We used the same techinque on the jars as we did on the walls.


We blackened the back of our jars with a lighter, like we did for our smokey lights!


In the right place, the web will cast a shadow on your wall!
Creepy, huh?